
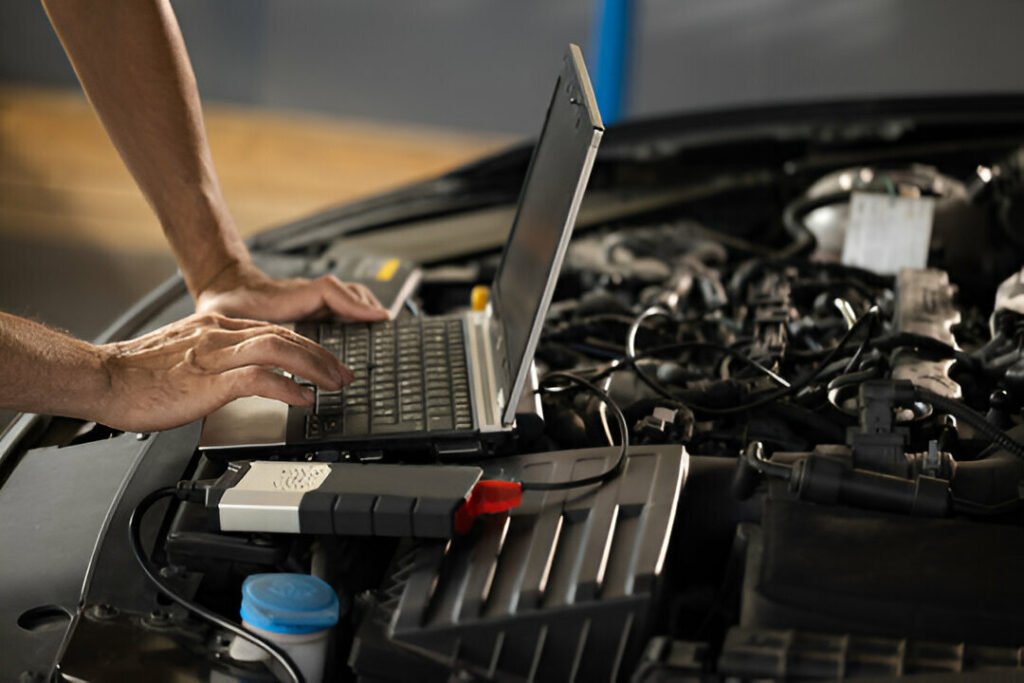
When to Drain and Refill the AdBlue Tank (Full Flush Guide)
You only need to drain the AdBlue tank when the fluid becomes contaminated, diluted, or crystallised. This can trigger SCR faults, AdBlue quality warnings, or a no-start countdown. If topping up the tank does not clear the warning, flushing and refilling the system may restore proper dosing.
Seeing an AdBlue warning that won’t clear after topping up often leads people to assume the tank must be drained. In reality, draining the tank is only necessary in a few specific situations. Most AdBlue systems are designed to run for years with nothing more than routine top-ups of ISO-22241 fluid.
However, fleets that store vans outdoors, refill from bulk containers, or experience crystallisation inside the SCR system can end up with contaminated fluid or blocked pickup filters. When this happens, the ECU may log faults such as P20E8, P204F, or P20EE and eventually trigger a no-start countdown. This guide explains when a drain actually helps, when it will not solve the problem, and how a full flush procedure works.
When draining AdBlue will not fix the warning
A full drain is only useful when the fluid is contaminated, diluted, or the tank has heavy crystal build-up. If the real problem is a pump failure, NOx sensor fault, heater fault, or SCR efficiency issue, draining the tank will not clear the warning for long.
| If you see this | Draining the tank likely helps? | What to check instead |
|---|---|---|
| Brown, milky, or dirty fluid | Yes | Drain, flush, and refill with fresh ISO-grade AdBlue |
| White crystal build-up in filler neck or pickup | Yes | Flush tank and inspect filter, lines, and injector |
| P20E8 low pressure fault | Sometimes | Check pump, pickup screen, line restriction, and injector blockage |
| P20EE SCR efficiency fault | Usually no | Check NOx sensors, injector spray, and exhaust leaks |
| Heater or electrical fault | No | Check heater circuit, wiring, connectors, and module faults |
| No start in 500 miles | Not always | Read the exact fault first before draining anything |
If your van already shows a countdown warning, use this guide first: AdBlue countdown warning explained .
When draining the AdBlue tank actually makes sense
Draining AdBlue is not routine maintenance. It is normally done to fix contamination or crystallisation problems inside the SCR system.
| Symptom | Likely cause | Best next step |
|---|---|---|
| AdBlue warning stays on after refill | Contaminated or diluted fluid | Test concentration, drain if outside ISO spec |
| P20E8 low pressure fault | Blocked pickup screen or crystallisation | Inspect pickup filter and tank interior |
| P204F system performance fault | Inconsistent dosing caused by restriction | Flush system and check injector |
| P20EE SCR efficiency fault | Incorrect dosing or catalyst inefficiency | Check injector and NOx sensors before draining |
| Milky or brown fluid visible in tank | Diesel or water contamination | Drain immediately and refill with fresh fluid |
Signs the fluid may be contaminated
AdBlue is a mixture of 32.5% urea and purified water. If the mixture changes, the SCR system cannot calculate the correct dosing rate.
Typical warning signs include:
- Fluid that looks cloudy or discoloured
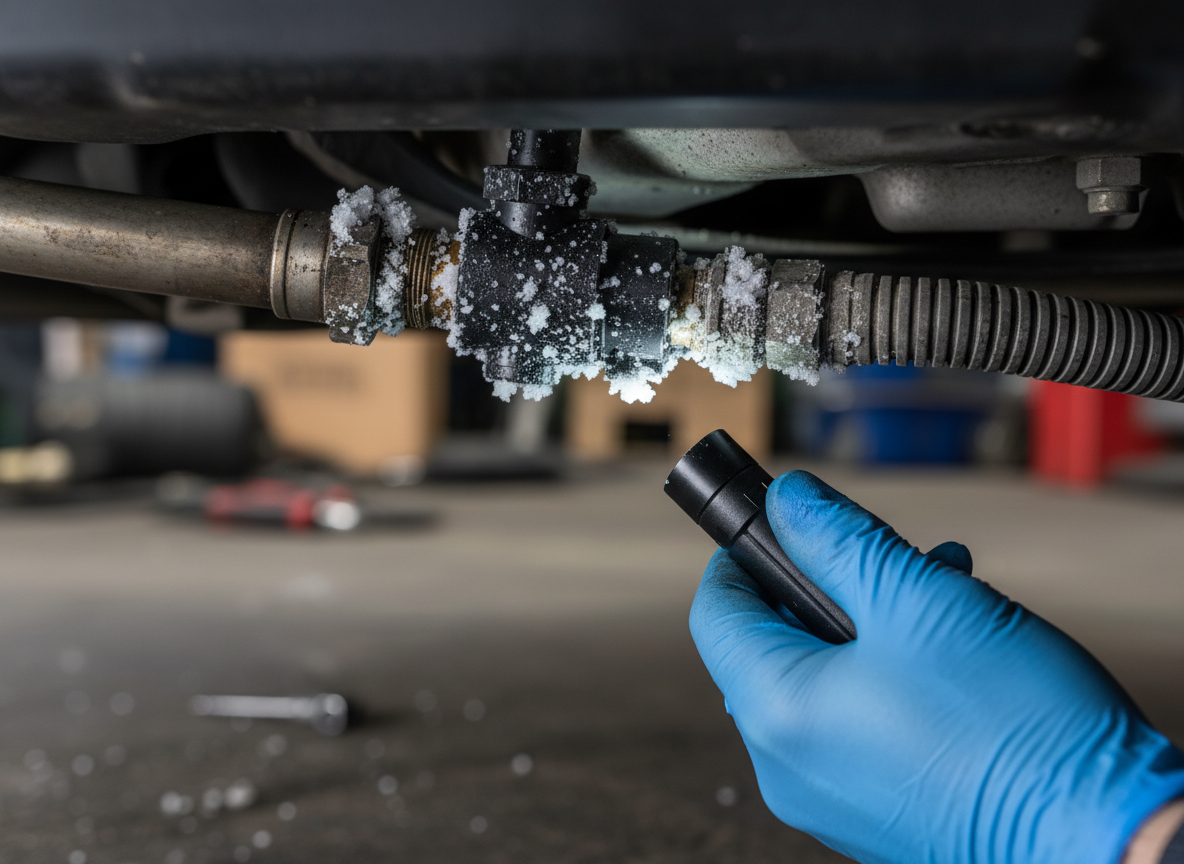
- White crystal build-up around the filler neck
- Repeated pressure faults despite a working pump
- AdBlue warnings appearing shortly after refilling
When contamination pushes the concentration outside the acceptable range, the ECU may increase or reduce dosing until the system fails its emissions check.
Flush or top-up — which do you actually need?
Most AdBlue warnings do not need a flush. A full drain is only worth doing in three situations:
| Situation | Top-up enough? | Full flush needed? |
|---|---|---|
| Warning light on, tank was just low | Yes — add 5–10L and drive 20 mins | No |
| Warning won’t clear after topping up (fault code stored) | No | No — diagnose fault first |
| Fluid looks brown, milky or has sediment | No | Yes |
| Repeated P20E8 faults despite working pump | No | Yes — blocked pickup screen |
| Refilled from old bulk drum or unmarked container | No | Yes — concentration likely off |
| Crystal build-up visible in filler neck | No | Yes |
If you’re not sure which applies to you, read the fault code first. A basic OBD2 scanner (£20 from Halfords) will tell you whether you have a contamination fault (P20EE, P204F) or a hardware fault (pump, heater, sensor) — the latter won’t be fixed by draining the tank.
Tools required for a full AdBlue flush
If the tank genuinely needs draining, the correct equipment helps prevent introducing new contamination.
- 12V diaphragm transfer pump rated for DEF
- Clear hose with shut-off valve
- Clean container labelled for AdBlue only
- De-ionised water for rinsing
- Replacement pickup filter and O-ring seals
- Protective gloves and absorbent mats
Although AdBlue is non-toxic, it can corrode metals and bleach surfaces. Keeping tools and containers clean prevents new contamination from entering the system.
Full AdBlue tank flush procedure — step by step
Allow 45–90 minutes for the full procedure. You’ll need ramps or a trolley jack to access the tank on most vans.
Step 1 — Warm the vehicle (5 minutes)
Run the engine for 5 minutes before draining. Warm AdBlue flows more freely and any crystals in the pickup screen are partially dissolved by heat. Don’t skip this — cold fluid drains slowly and leaves more residue behind.
Step 2 — Drain the tank
Insert the suction hose through the filler neck and pump out all fluid into a clearly labelled container. Most van tanks hold 15–25 litres (Sprinter W906/W907: ~20L, Ford Transit Mk8: ~17L, VW Crafter: ~22L, Peugeot Boxer: ~13L). Don’t rush — leave the pump running until airlock sounds confirm the tank is empty.
Step 3 — Remove and inspect the pickup module
The pickup module sits inside the tank and contains the filter screen, level sensor, and pump inlet. On most vans it’s accessed via an external hatch under the chassis (driver’s side, behind the rear axle). Remove the retaining ring (usually 6–8 bolts or a bayonet fitting) and lift the module straight out — tilt it slowly to avoid spillage.
What to look for: White crystalline deposits on the filter mesh, discolouration on the sensor probe, or cracked O-ring seals. A blocked screen looks like a white fur coating — it takes 30 seconds to spot under a torch.
Step 4 — Clean the filter screen
Rinse the pickup screen in warm (not hot) water and scrub with a soft brush until the mesh runs clear. If crystals are stubborn, soak in warm water for 10 minutes. Replace the screen and O-rings if the mesh is torn or the seals show cracking — replacement kits cost £15–£40 and prevent the fault returning.
Step 5 — Rinse the tank interior
Add 3–5 litres of de-ionised water through the filler neck and swill the tank by rocking the vehicle side to side. Pump the rinse water out completely. Repeat once if the drained fluid was heavily discoloured. Do not use tap water — mineral content will contaminate the new fluid.
Step 6 — Reinstall the pickup module
Fit new O-ring seals (dry, no lubricant — grease degrades the rubber), reinsert the module, and tighten the retaining ring to hand-tight plus quarter turn. Reconnect the wiring loom and check the connector clicks fully home.
Step 7 — Refill with fresh ISO-22241 AdBlue
Add a minimum of 10 litres of sealed, ISO-22241 grade AdBlue. Check the label — budget fluid from unknown sources is often the reason you’re flushing in the first place. Fill to the neck (most tanks have a float that stops overflow).
Step 8 — Prime the pump
Turn the ignition on without starting the engine. You’ll hear the AdBlue pump prime for 10–15 seconds. Turn the ignition off, wait 10 seconds, then turn it on again. Repeat 3–4 cycles. This draws fluid into the pump and delivery lines and prevents a P20E8 low-pressure fault on first start.
Step 9 — Clear fault codes and verify
Connect a diagnostic scanner and clear all stored AdBlue fault codes. Start the engine and drive for 20–30 minutes at mixed speeds (not just idling) to allow the SCR system to run a full dosing test. After the drive cycle, reconnect the scanner and check for pending codes — if none are present, the flush is confirmed successful.
If P20EE or P204F returns within 30 minutes of driving, the issue is SCR catalyst efficiency or a NOx sensor fault, not contamination. The flush has done its job — you now have a different fault to diagnose.
After refilling, the system normally performs a dosing test during driving. If the ECU confirms correct pressure and NOx reduction, the fault status changes to “passed”.
Real-world example: crystallised pickup screen
A Ford Transit fleet vehicle arrived with repeated P20E8 low pressure faults. The AdBlue pump had already been replaced, but pressure remained unstable. Inspection revealed heavy crystal deposits blocking the pickup filter. After flushing the tank and replacing the filter, pressure stabilised and the fault cleared permanently.
Real-world example: contaminated bulk fluid
Another van developed a P204F system performance fault shortly after refilling from a bulk drum. Fluid testing showed dilution caused by condensation inside the container. Draining and refilling the tank restored correct concentration and eliminated the warning.
What causes AdBlue contamination or crystallisation
Most AdBlue tanks never need draining during the life of the vehicle.
Contamination usually happens because of storage or environmental factors rather than normal use.
- Bulk container storage – moisture entering open drums can dilute the fluid.
- Cold weather crystallisation – repeated freezing and thawing can form deposits inside the tank or pickup screen.
- Incorrect fluid handling – using unsealed containers can introduce dust, water, or diesel contamination.
- Old AdBlue stock – fluid stored for long periods can drift outside the correct concentration.
- Tank residue build-up – crystals forming inside the tank can eventually block the pickup screen.
If contamination becomes severe enough, the ECU may log faults such as P20E8, P204F, or P20EE.
These codes appear when the SCR system cannot maintain correct pressure, dosing behaviour, or emissions reduction.
When draining will NOT fix the problem
Many AdBlue warnings are caused by sensors or components rather than the fluid itself.
Draining the tank will not fix:
- NOx sensor failures
- AdBlue pump electrical faults
- SCR catalyst efficiency issues
- AdBlue heater failures
In those cases, the ECU will simply log the same fault again after the flush.
When to call a professional instead of DIY
The flush procedure is straightforward on most vans if you’re comfortable working underneath a vehicle. Call a specialist if:
- The pickup module is seized or the retaining ring has corroded (common on high-mileage Sprinters over 150,000 miles)
- The fault returns immediately after flushing — this means a hardware component has failed alongside the contamination
- The countdown timer shows fewer than 200 miles remaining — at that point you need dealer-level tools to force a reset alongside the flush
- You’re not confident working with a vehicle on ramps
Frequently asked questions
Can AdBlue crystallise in the tank?Yes. Exposure to air and temperature changes can create solid deposits that restrict flow.
How often should AdBlue tanks be flushed?Normally never. Flushing is only needed when contamination or crystallisation occurs.
How long does a full AdBlue flush take?45–90 minutes if you have ramps and the right pump. The most time-consuming part is draining and rinsing — the actual refill takes under 10 minutes. Add 30 minutes for the post-flush drive cycle to verify the system.
How much AdBlue do I need for a refill after flushing?Fill to the neck after flushing — typically 15–25 litres depending on the van. Sprinter W906/W907 holds around 20L, Ford Transit Mk8 around 17L, VW Crafter around 22L, and Peugeot Boxer around 13L. Always use at least 10L minimum to ensure the pump can prime correctly.
Will a flush fix a no-start countdown?A flush alone will not reset a countdown timer. The countdown is stored in the SCR module and requires dealer-level diagnostic tools to force a reset. If contamination caused the countdown, fixing the contamination stops it from recurring — but the reset must be done separately.